
Not all finishes are created equal… 😏
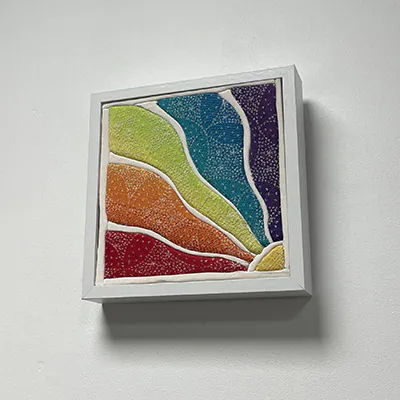
A Kinusaiga textile picture is fabric tucked into a board (to find out more).
Which leaves one question: what do you do with the edges?
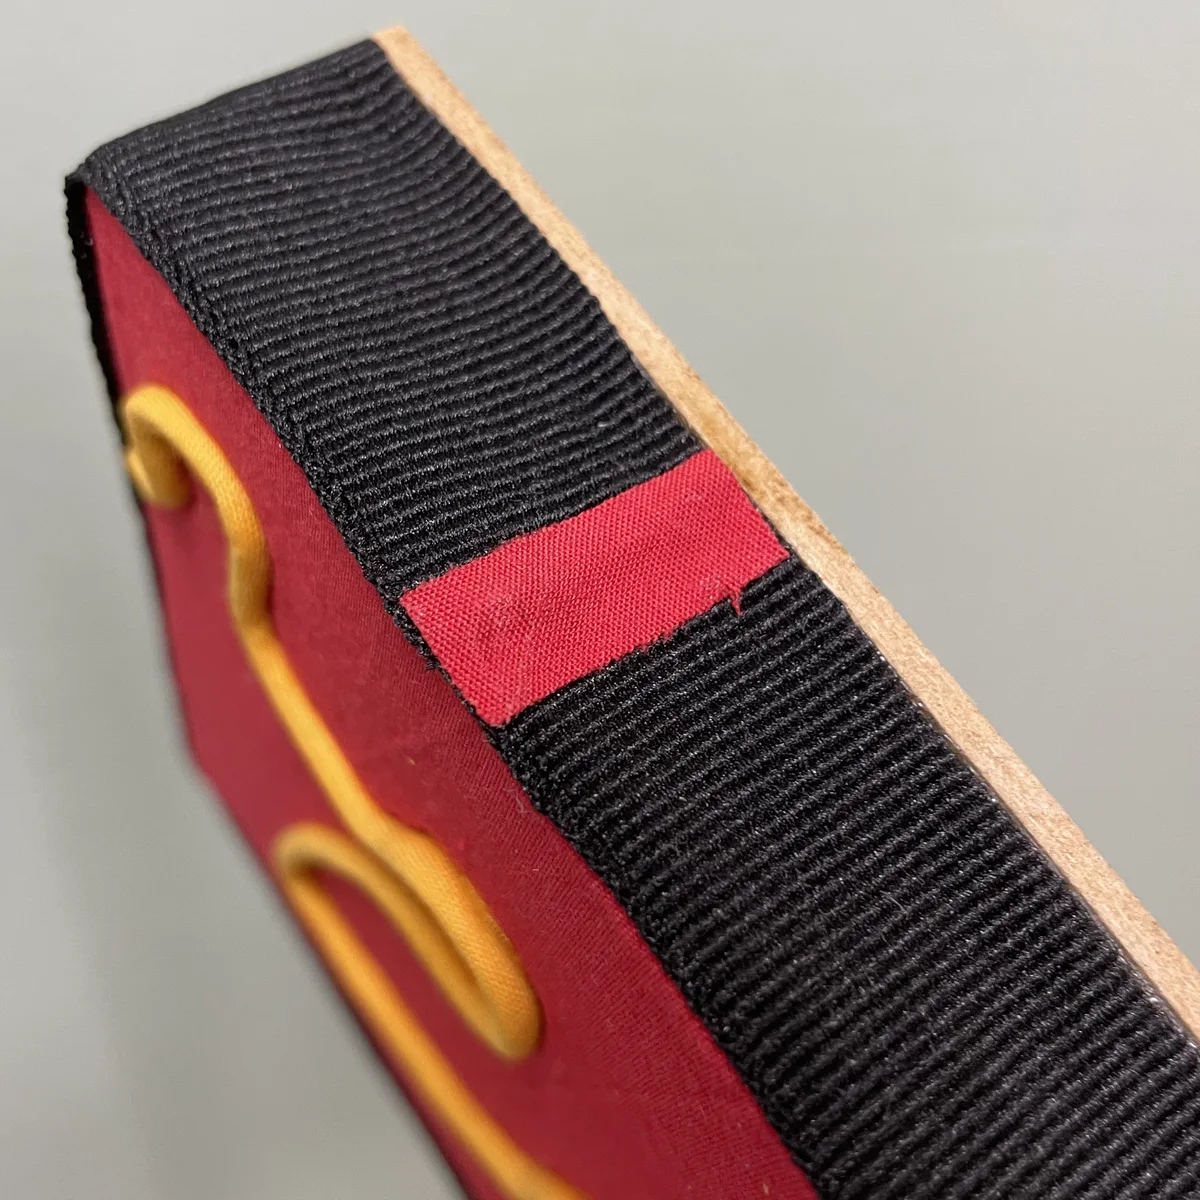
Me, I finish them with a ribbon (or sometimes bias binding) applied by hand all the way round.
Why finish with a ribbon?
It means you can do without a frame, if you want. The edge is neat, the picture stands on its own. And nothing stops you from adding one.
The back stays nice and flat. The fabric stops halfway down the edges, the ribbon covers it, and the back with its hanger sticks on cleanly.
And then here in the Loire, especially in Saint-Just-Saint-Rambert, our history is closely tied (pun intended) to ribbons.
So it felt obvious.
A whole world of possibilities
Single, double (or triple?! 🫣) width. Matching the picture, or boldly contrasting.
And bonus, I get to have fun with little flourishes at the join 🤭
Change the ribbon, and you change the piece without touching the design.
Where do my ribbons come from?
The ribbon is the only part of the mounting you can see, so I don't pick it at random.
I hunt for second-hand ones, buy surplus stock, and sometimes combine several on one piece.
And in the kit?
I share this finish with you in the Discovery Kit: a ribbon or bias binding for the edge, like the white ribbon of the Cosmos kit, discreet and goes with everything.
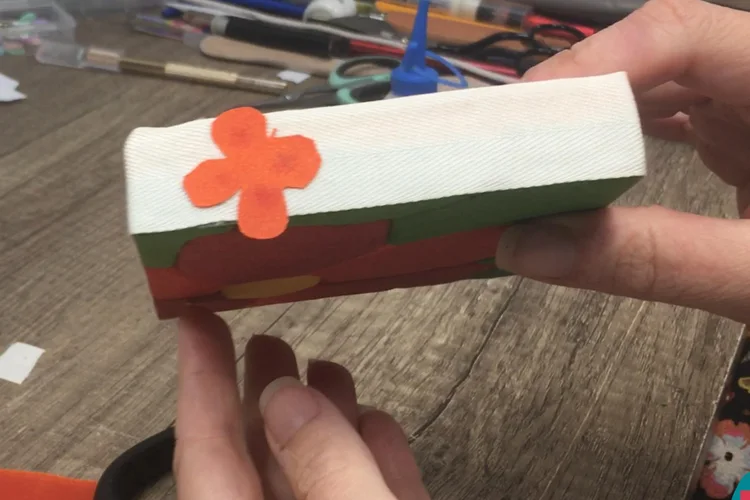
Three tips if you're doing it yourself:
- choose which way up your picture goes: if it's going to hang, put the join at the top, that's where it'll show the least (at the bottom if it's going to stand);
- go round without pulling, or the ribbon will warp;
- crease firmly at each corner.
Join still showing? A little shape cut from your favourite fabric, stuck on top, and done.
So, team subtle or team bold? Tell me on Instagram 👇🏻
Know someone who'd enjoy this?